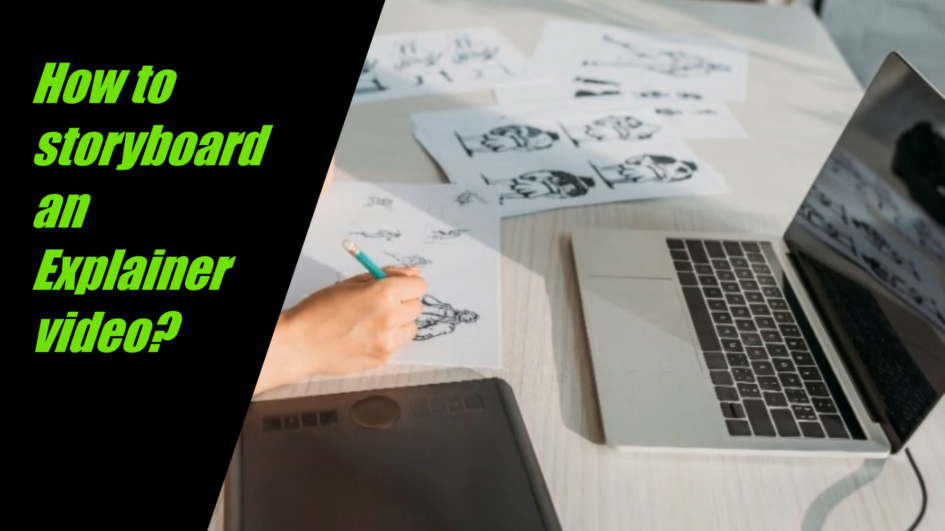
Storyboarding is the step in the production before you actually start animating and illustrating the video. It simply means that you go through the script line by line and decide what will be on the screen for each part of the script.
If there is any doubt about your script being 100% done, don’t send it to be recorded until after the storyboard sessions. Revisions to scripts sometimes happened during the storyboard session.
We get an explainer video storyboard created so that everyone on the project will be able to see what the visuals will look like before the animation begins.
On about 90% of the projects, we have an online meeting with the client where along with our writer, producer, the illustrator, or animator, we read through the script line by line and brainstorm together to put down in the text visual ideas for each line of the script. This process of explainer video storyboard making is called storyboard notations. You simply write out descriptions under each line of the script the visual ideas, and you may even do some image searches for images and photos to use as source material for the artist to have a clear idea of what you want on the screen.
You will need to get a sense and feel for how much you can put on the screen for a given line of script. For example, if your line of script takes 8 seconds to read, be careful so that you don’t try to have 20 seconds worth of visuals stuffed into that 8-second timestamp.
While working on the explainer video storyboard, we try to avoid having too much on the screen in any one scene. If the audience has too much to process in a short period of time, then they will feel overwhelmed and confused and hit the back button.
You can have a complete scene for each line of script and, in most cases, that will be how it works out. It may also make sense for a scene to build over the course of multiple lines of the script on the explainer video storyboard. This can help the animator or illustrator giving them more time to get everything on the screen so that it works in the timestamp you have.
At times it can be tough to come up with visual ideas for a line of script. Some topics don’t lend themselves to visual expression easily. We have been on explainer video storyboard calls where we have spent 45 minutes working on ideas for one or two lines of the script.
Here are some of the techniques to consider:
Use a cliche’ – The problem with a cliche’ is that it is a cliche’, not creative common original autistic, but people know what a cliche’ means and you won’t receive confusing your audience. So, you can use a cliche and perhaps make it your own in some creative way.
Icons – If you have any illustrator or designer that is good at creating icons, they can be used to convey something complicated very quickly.
Formulas – You can just keep text, images, or icons to create a formula that gets you through a tough line of script and is very clear.
Example:
Line of the script: “This combination of aptitude (CAN DO) and motivation (WILL DO) is called “Talent DNA”, a combination of tangible human traits.”
Formula: CAN DO + WILL DO = Talent DNA

Photos – Occasionally, the best thing to do while working on an explainer video storyboard is to use a photo of the thing the video is about. We have done a lot of projects about physical products, things like manufacturing and building products, and while we would illustrate some elements of these products, we also used photos too.


Leave a Reply